Managing Your SlashExperts Account Information
This tutorial will guide you through the various features available in the Account Information section of your Slash Expert account, covering billing, account details, and team management.
Updated 2 months ago
This tutorial will guide you through the various features available in the Account Information section of your Slash Expert account, covering billing, account details, and team management.
Begin by navigating to the Account Information section, which allows you to manage essential aspects of your account such as billing, account details, and team management.
This section is designed to provide full control over your financial activities, user access, and account settings, ensuring a seamless experience.
Start with the Billing page.
At the top, you will see your available balance, indicating the funds ready for use, along with the pending invoice amount that reflects any outstanding payments.
Below that, you will find the Auto Top Up feature, which allows you to automate funding if your balance drops below a specified threshold.
To the right, your saved credit cards will be displayed, showing the last four digits for identification and the date they were added.
At the bottom, sections for Invoice History and Card Transaction History log all past transactions, including amounts, card details, and dates, keeping your financial records transparent and manageable.
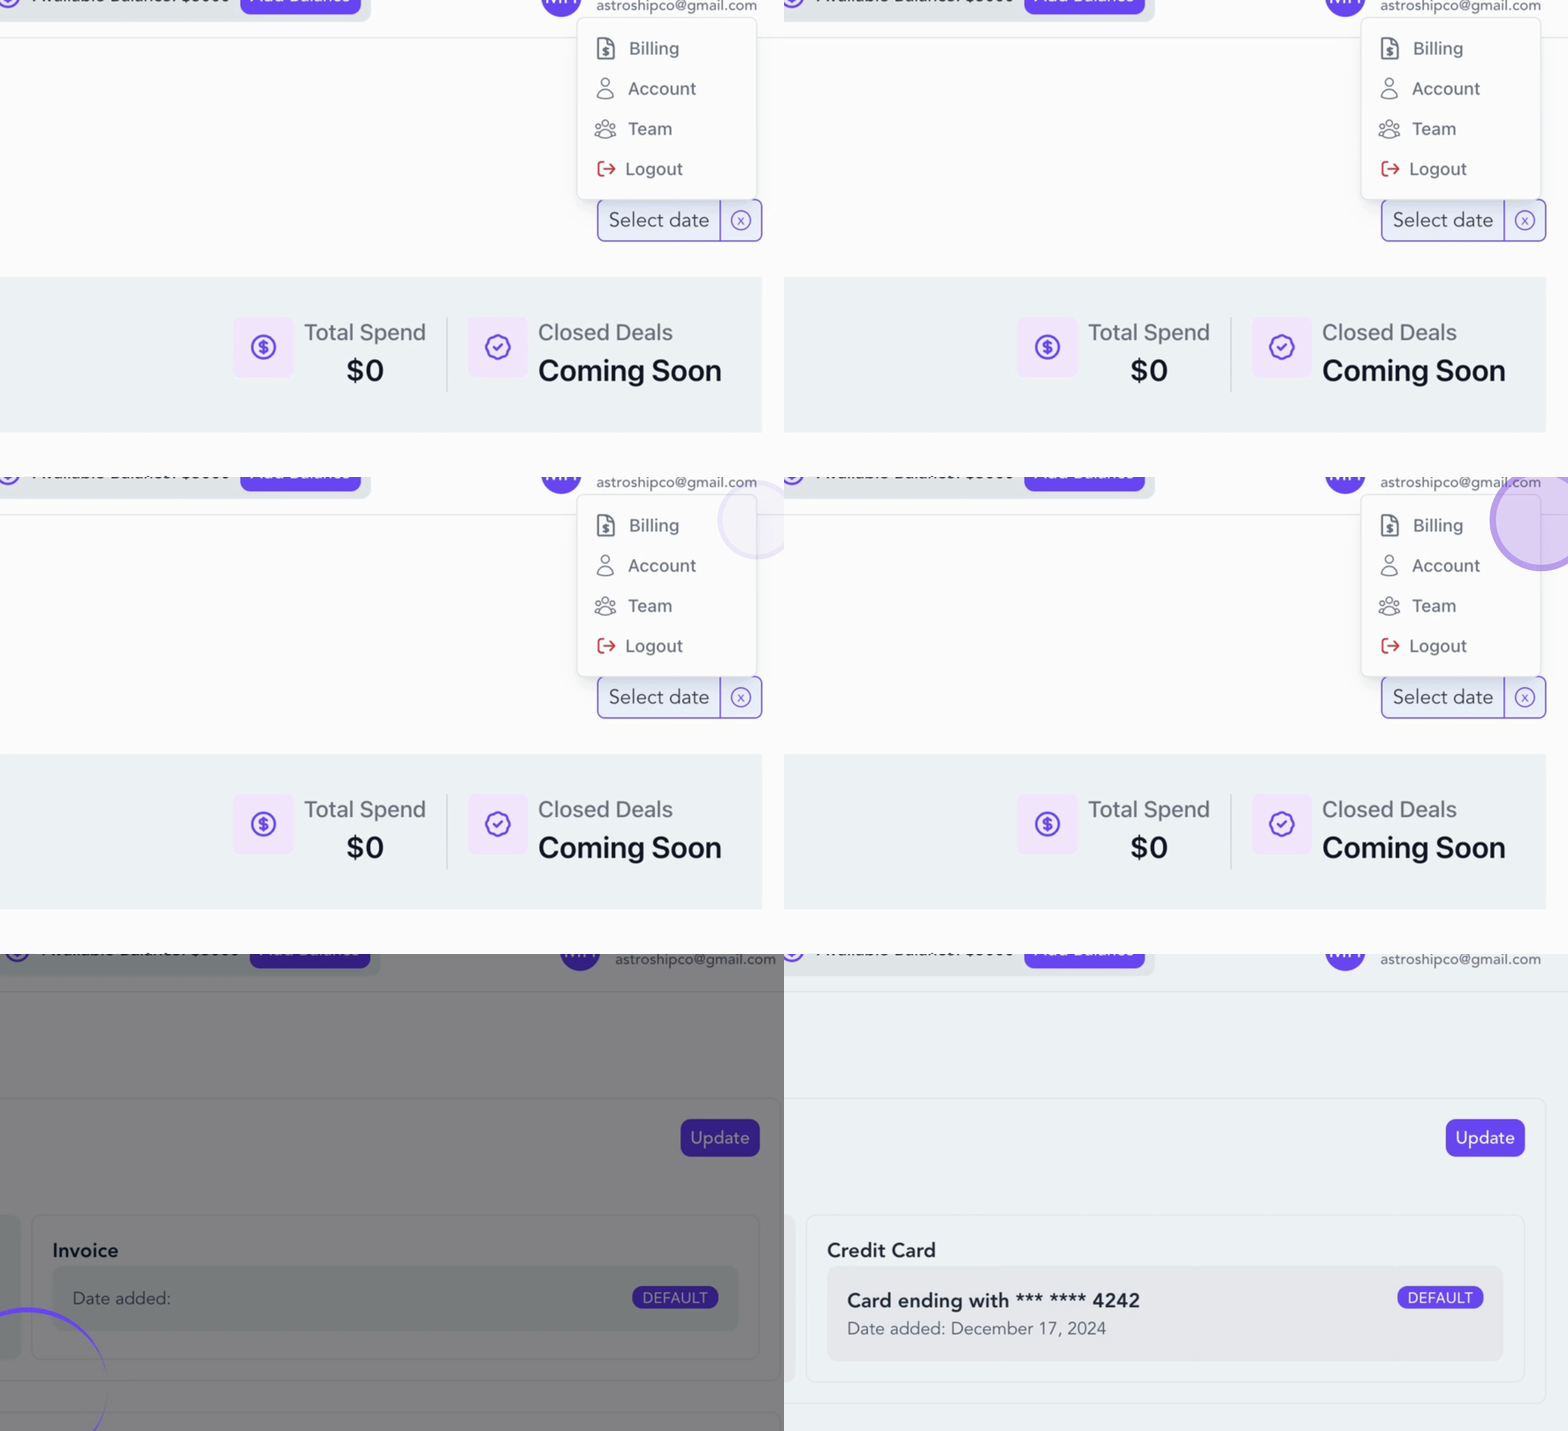
Proceed to the Account Information section where you can manage and update the details provided during the signup process.
Here, you will find fields for your name, email address, and title.
To make changes, click on a text field, edit the information, and hit the Save button at the top right. Your updates will apply instantly.
This process is quick and easy.
Next, explore the Team Management section.
In this area, you can easily add, manage, and track your team members.
Existing team members will be displayed in a table showing their names and email addresses, allowing you to keep your team organized and up to date.
To add a new team member, click on Add Member.
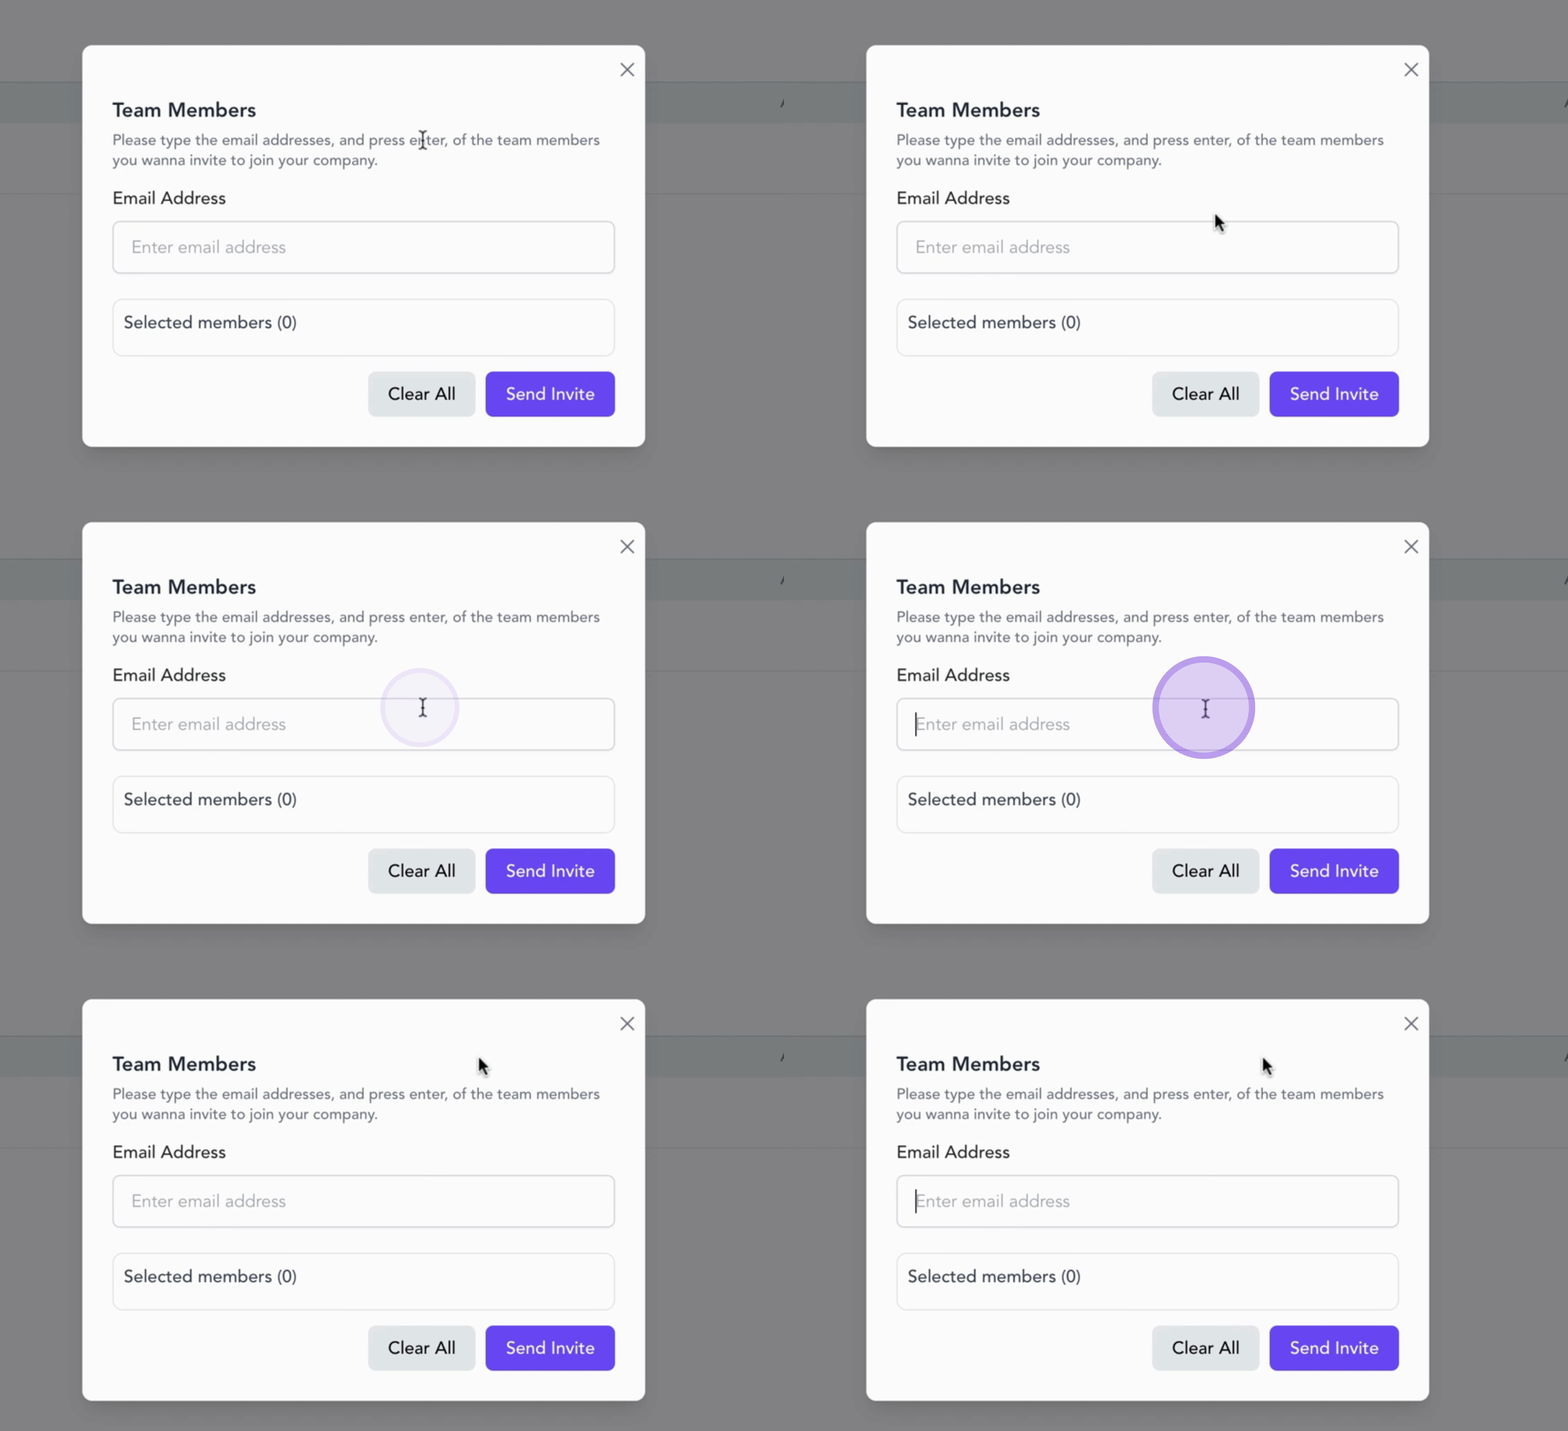
A pop-up will appear where you can enter the team member's name and email address before pressing Enter.
Once added, selected members will appear on the list below.
You can invite them to join your company or clear all entries using the respective buttons.
By following these steps, you can effectively manage your account information, billing, and team members within the Slash Expert platform, ensuring everything is organized and up to date.
