Introduction
This guide will take you from invitation to ready for prospect calls from an expert's perspective.
The Expert Journey: Step-by-Step
1. Your Expert Receives Their Invitation
You'll work with your SlashExperts' Account Manager to draft clear and compelling copy that communicates the value and expectations of being featured as an expert. Depending on your preference, you can copy your SlashExperts' Account Manager on the invite to assist with the onboarding process if needed. Your expert will receive the email invitation with a link to accept the invite.
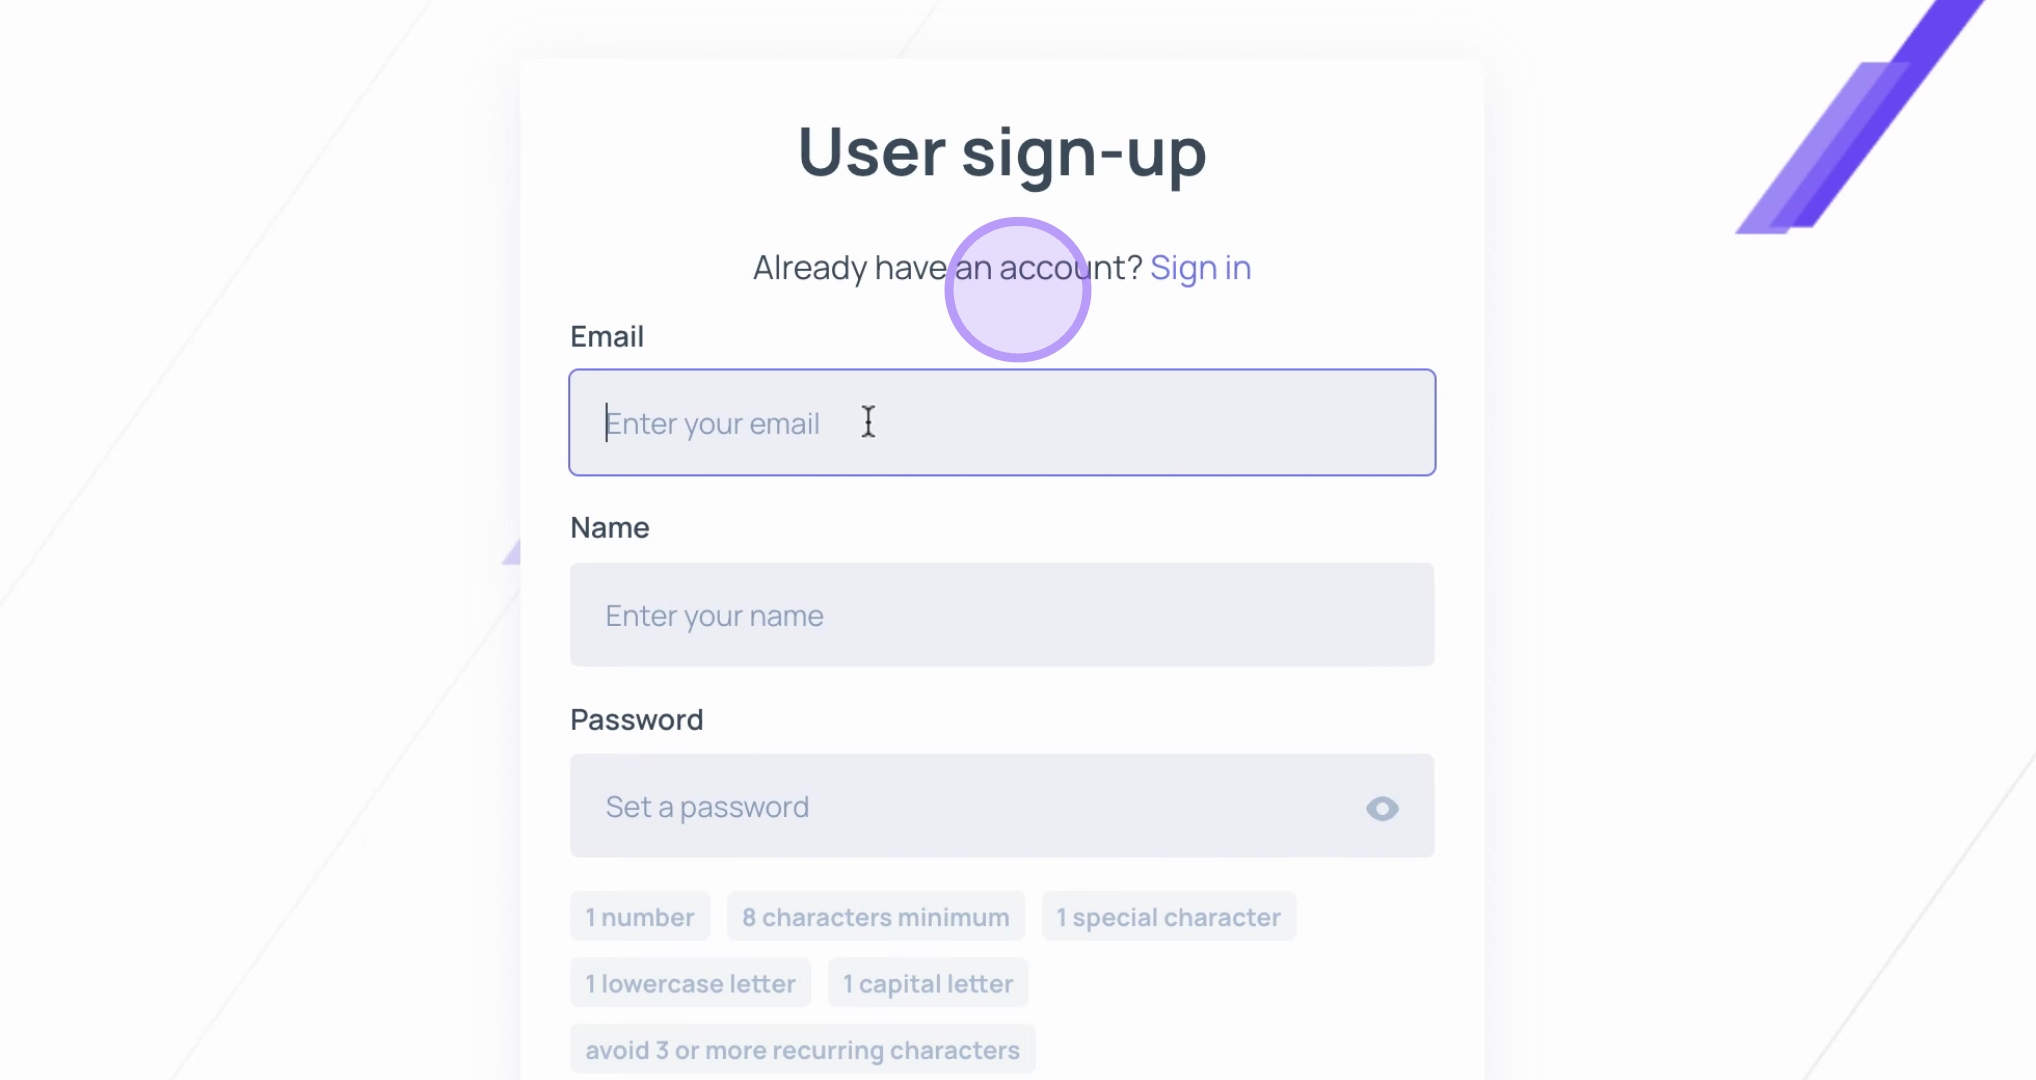
2. Expert Creates Account
Your experts will be prompted to create their SlashExperts account. They can either create a new account using their email and password, or save time by signing in with Google or Microsoft.
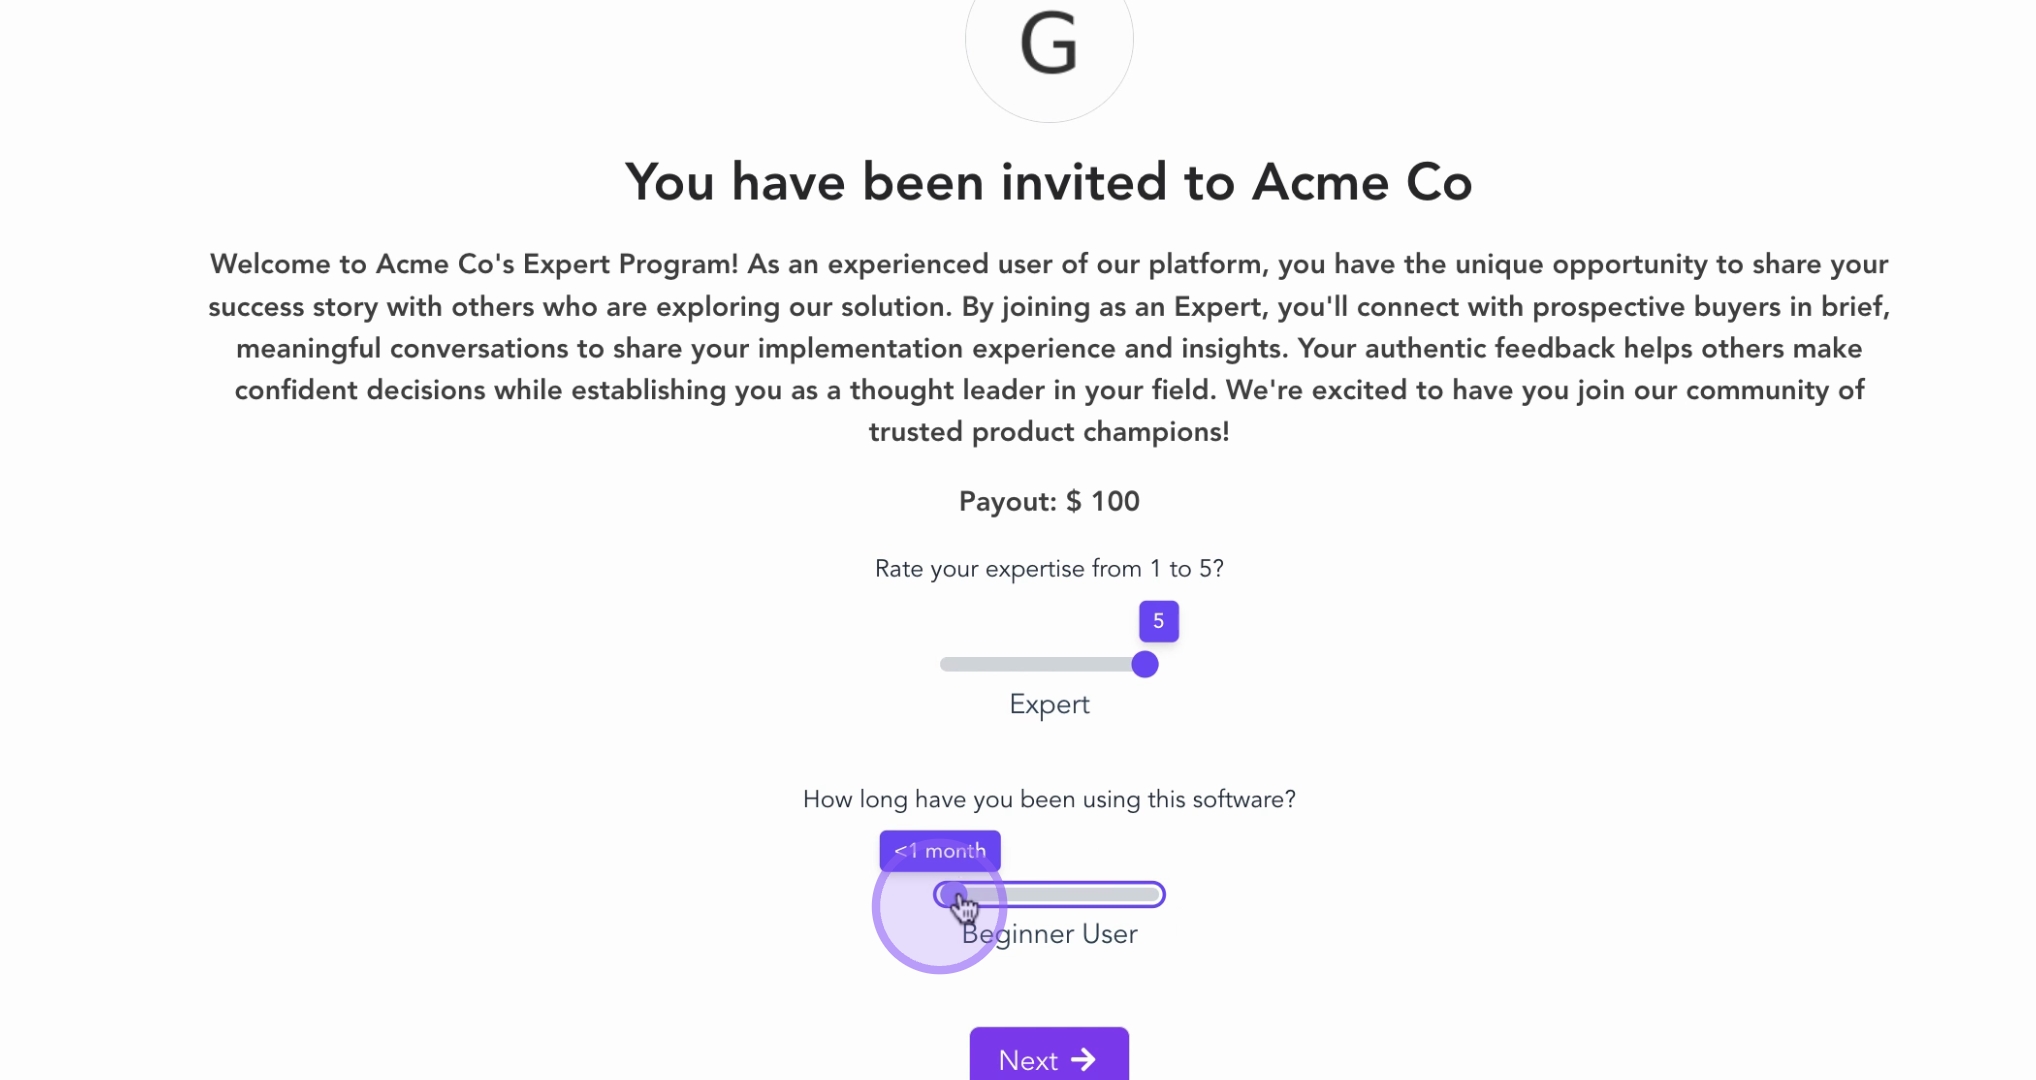
3. Expert Sets Their Expertise Level
After creating their account, your experts will see a welcome screen asking about their expertise level and how long they've been using your software. The welcome message on this screen can be customized by you in the SlashExperts dashboard. They'll move sliders to indicate their experience level. This information helps you match them with the right prospects who will benefit most from their specific insights.
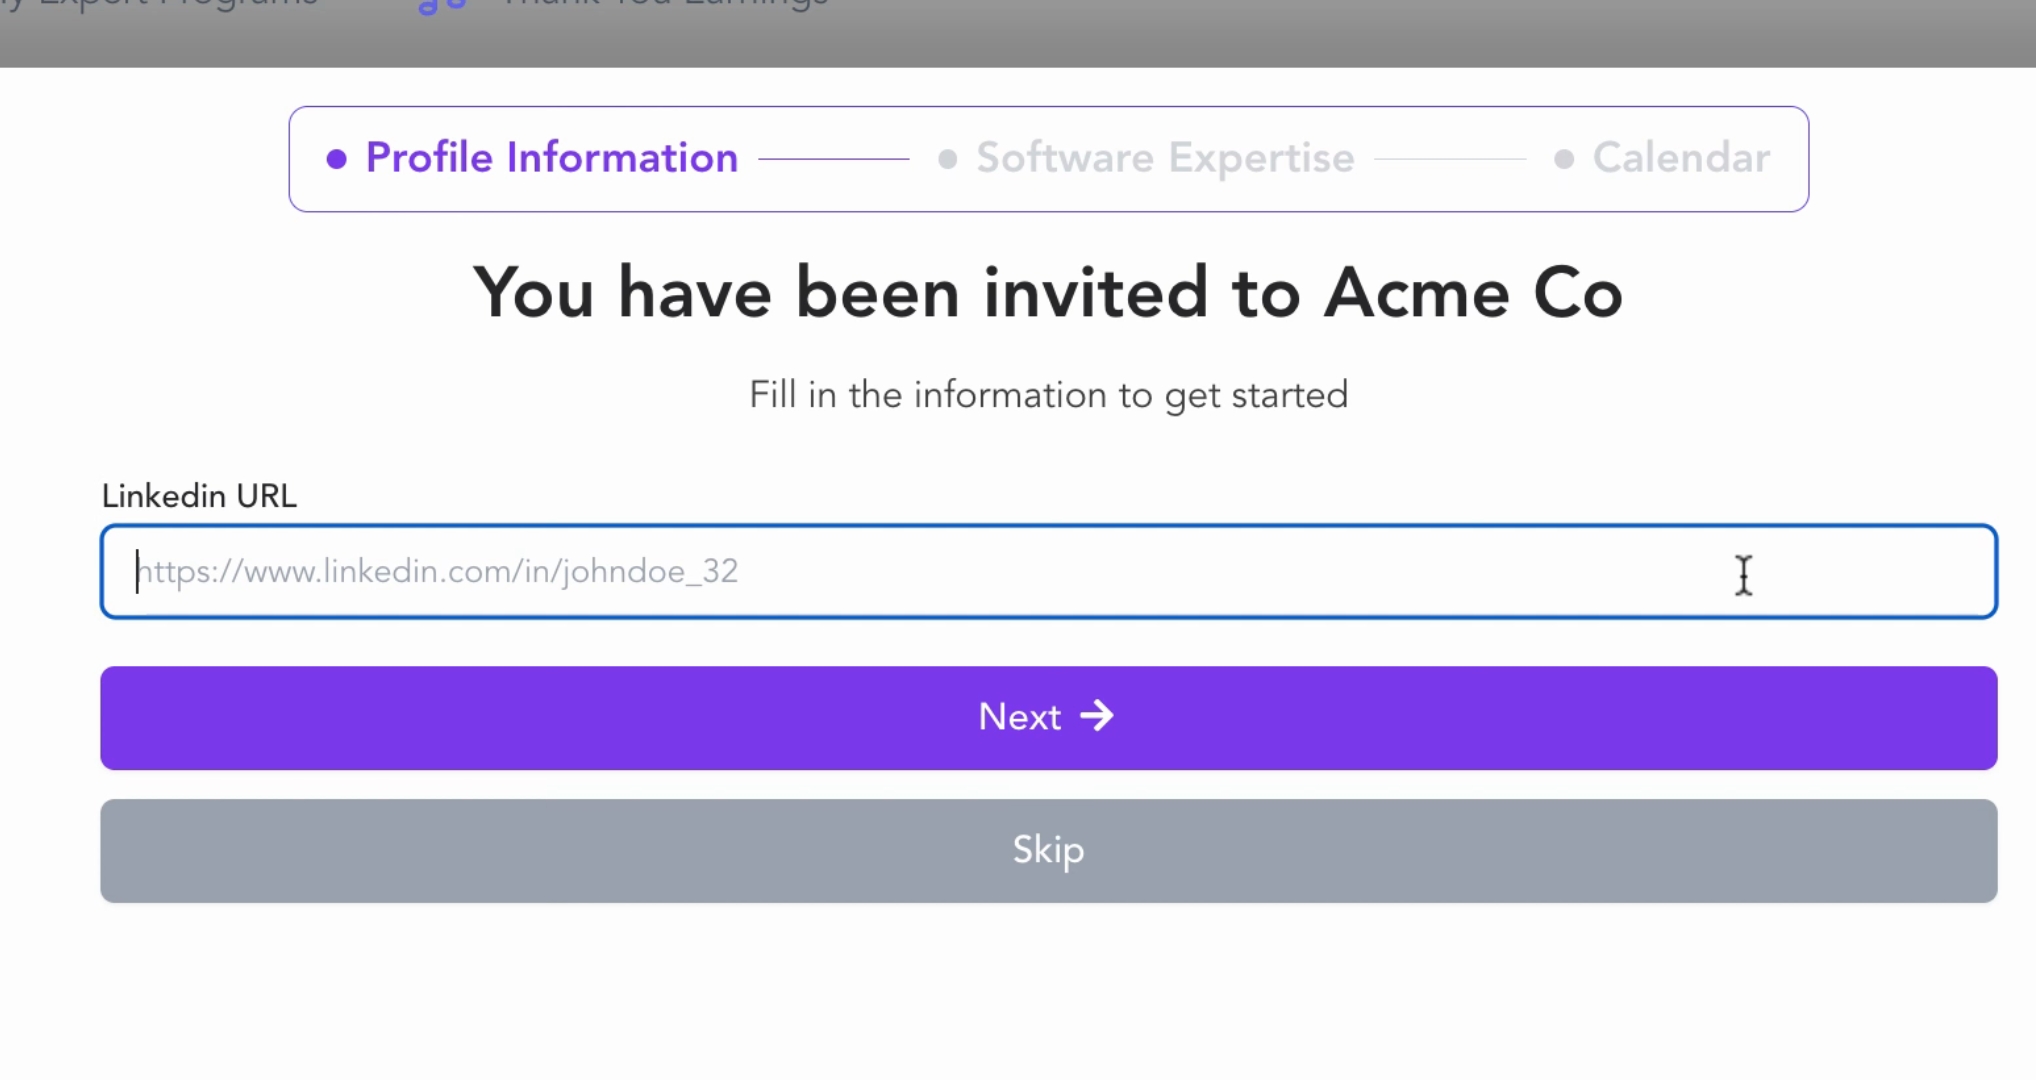
4. Expert Syncs Their LinkedIn Profile
Your experts will then add their LinkedIn profile URL. This professional background information builds trust with prospects and allows them to familiarize themselves with an expert before booking a conversation.
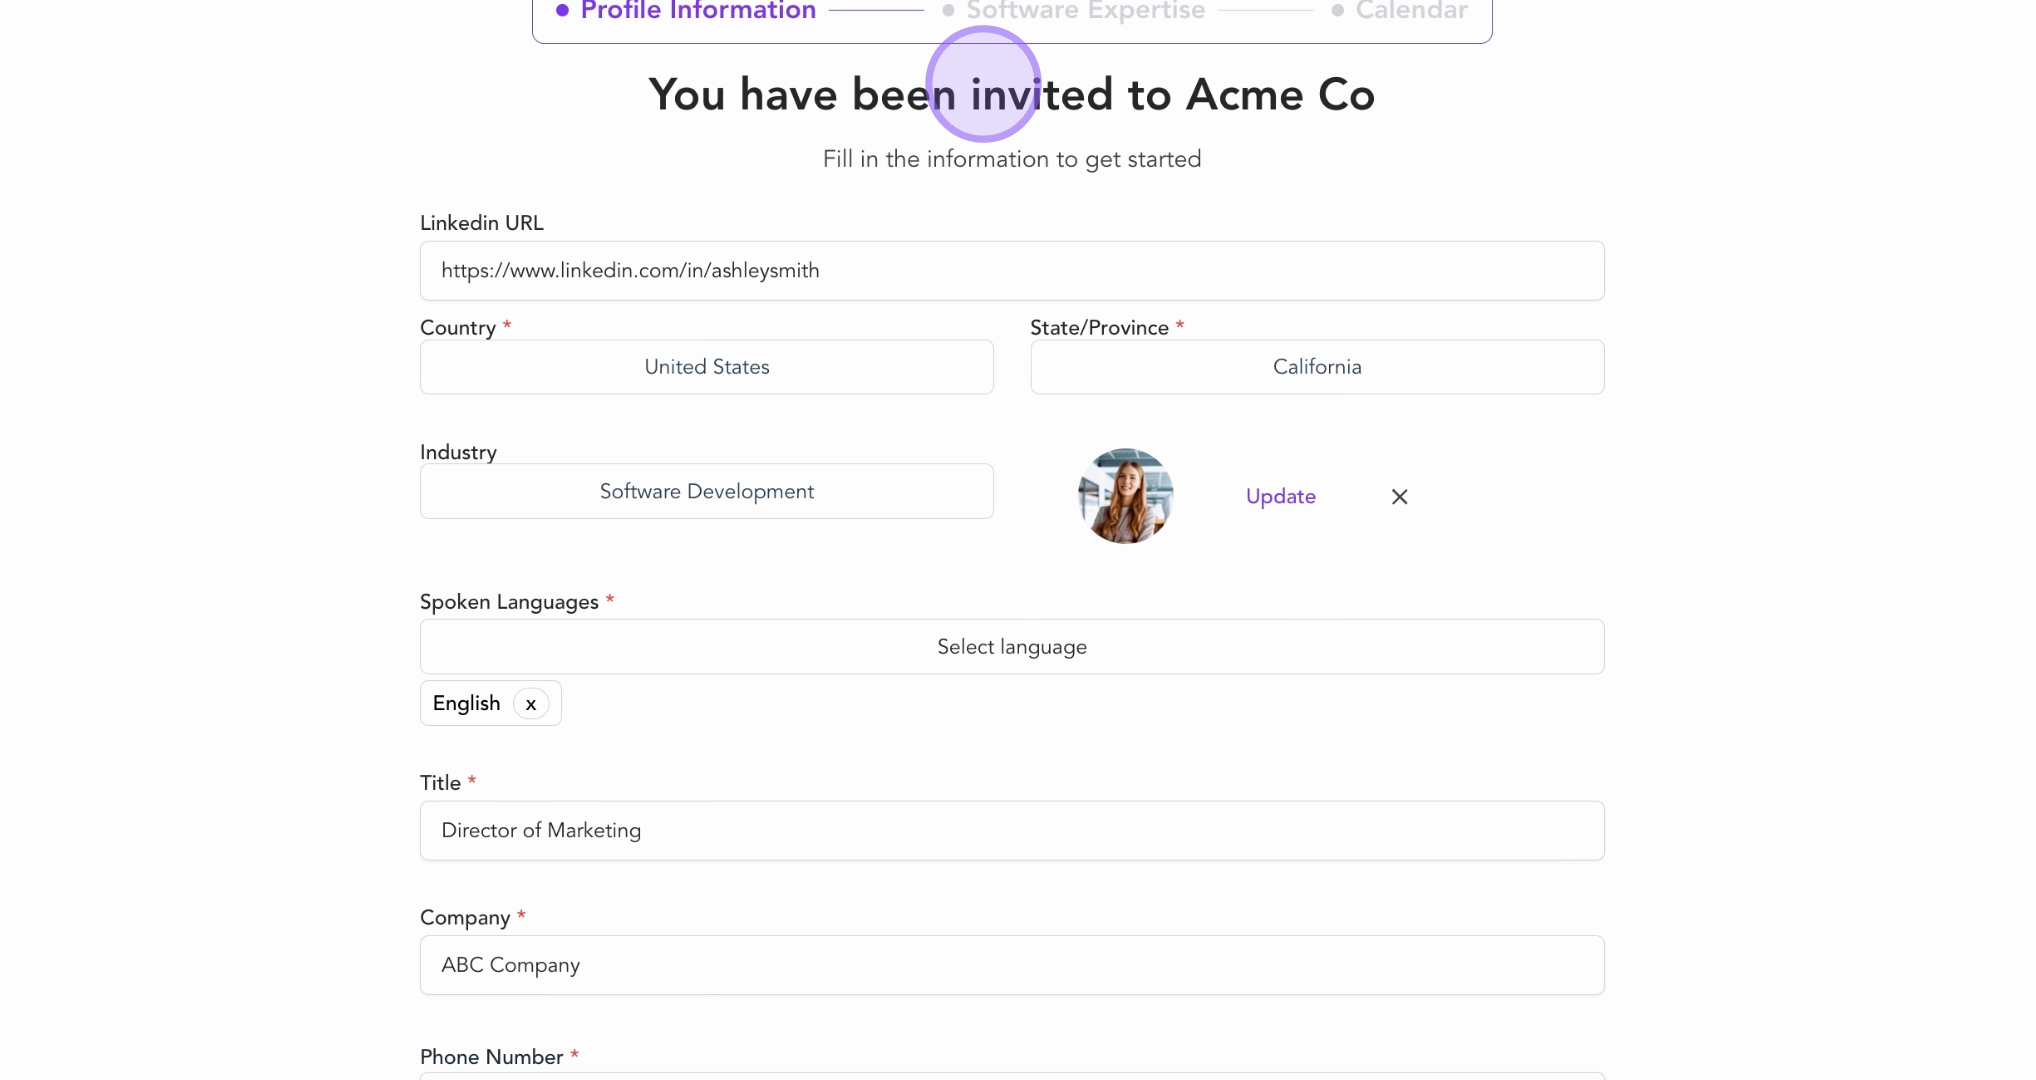
5. Expert Completes Their Profile
After syncing their LinkedIn the streamlined process automatically pulls in their relevant information to review, edit and complete.
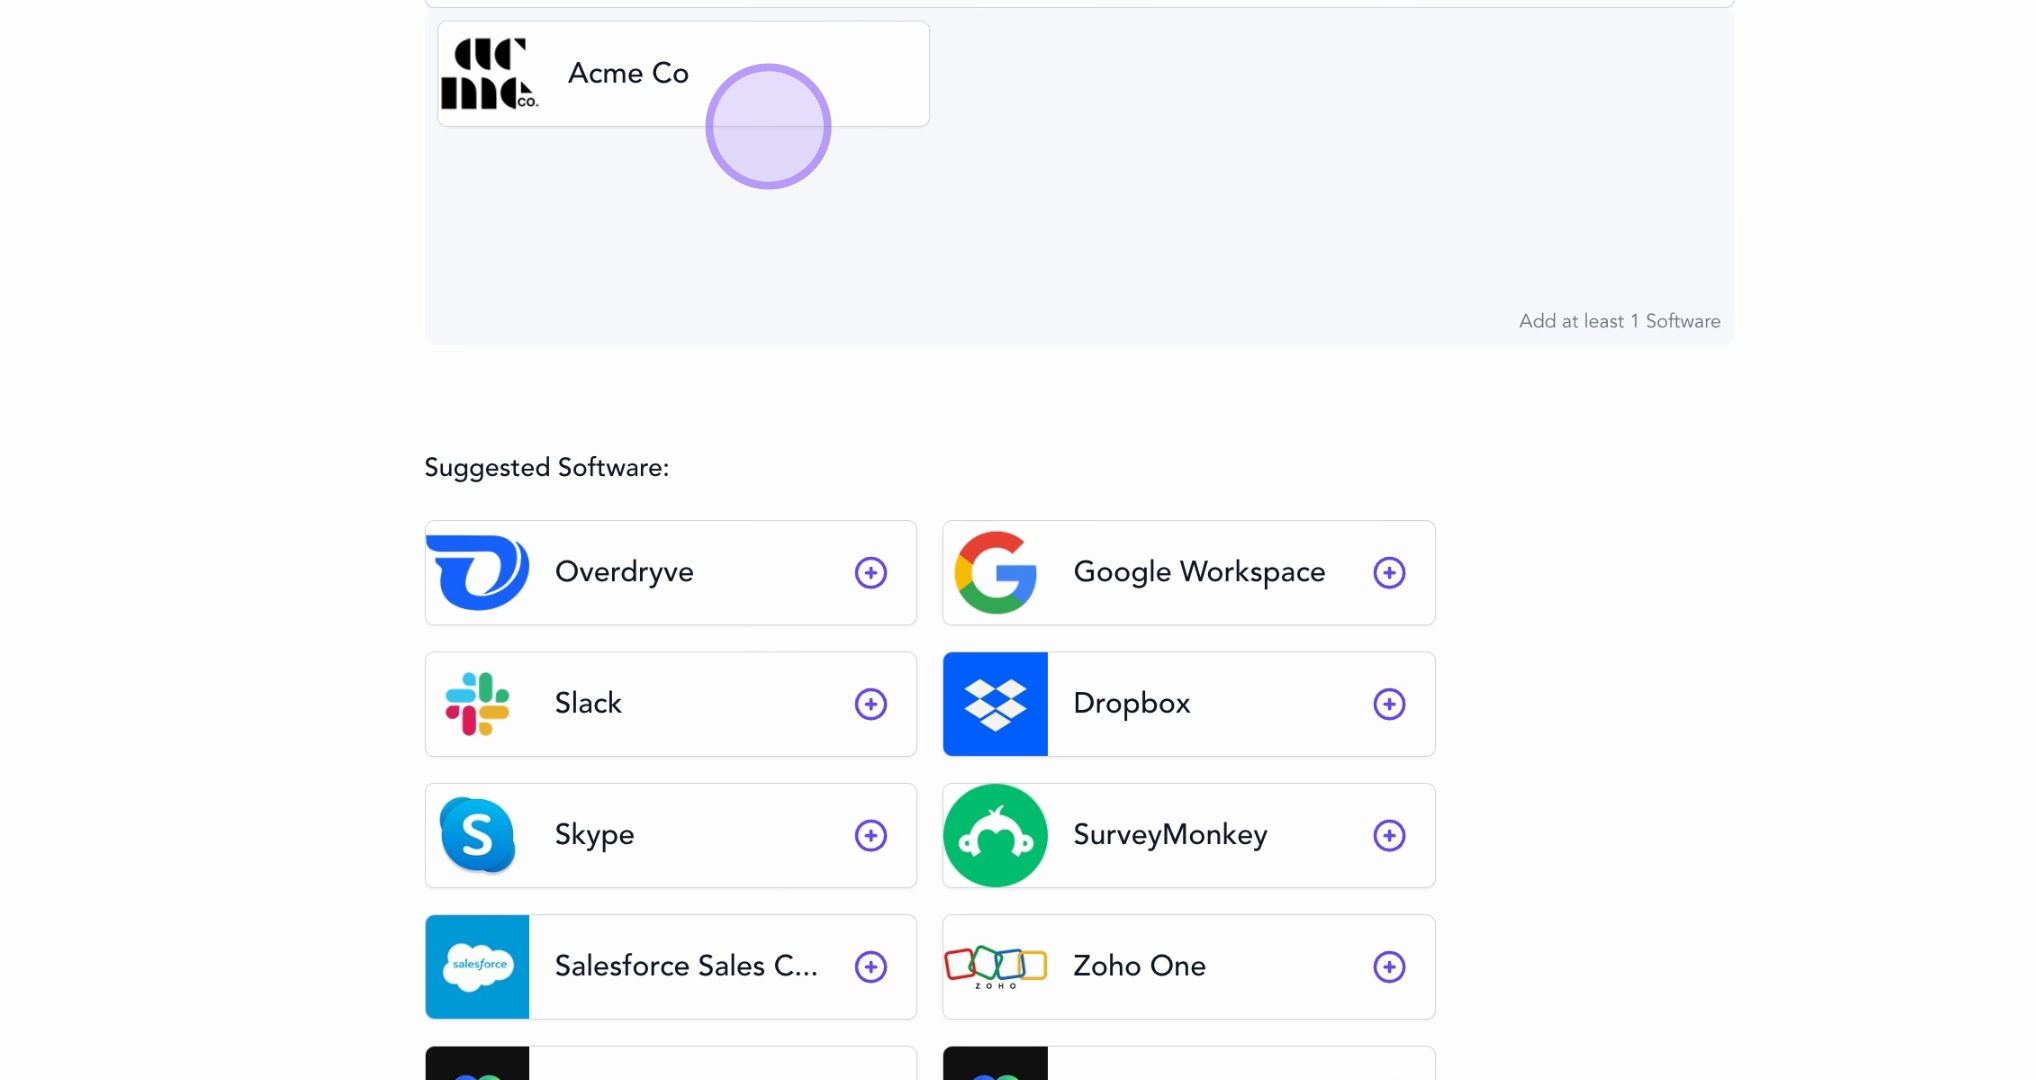
6. Expert Adds Platform-Specific Expertise
This is where your experts showcase their specific experience with your platform. They'll see your company logo, which will be preselected as well as a list of software categories to complete their tech stack or features they can select from. The more detailed their expertise, the better they be can matched with prospects who share similar needs.
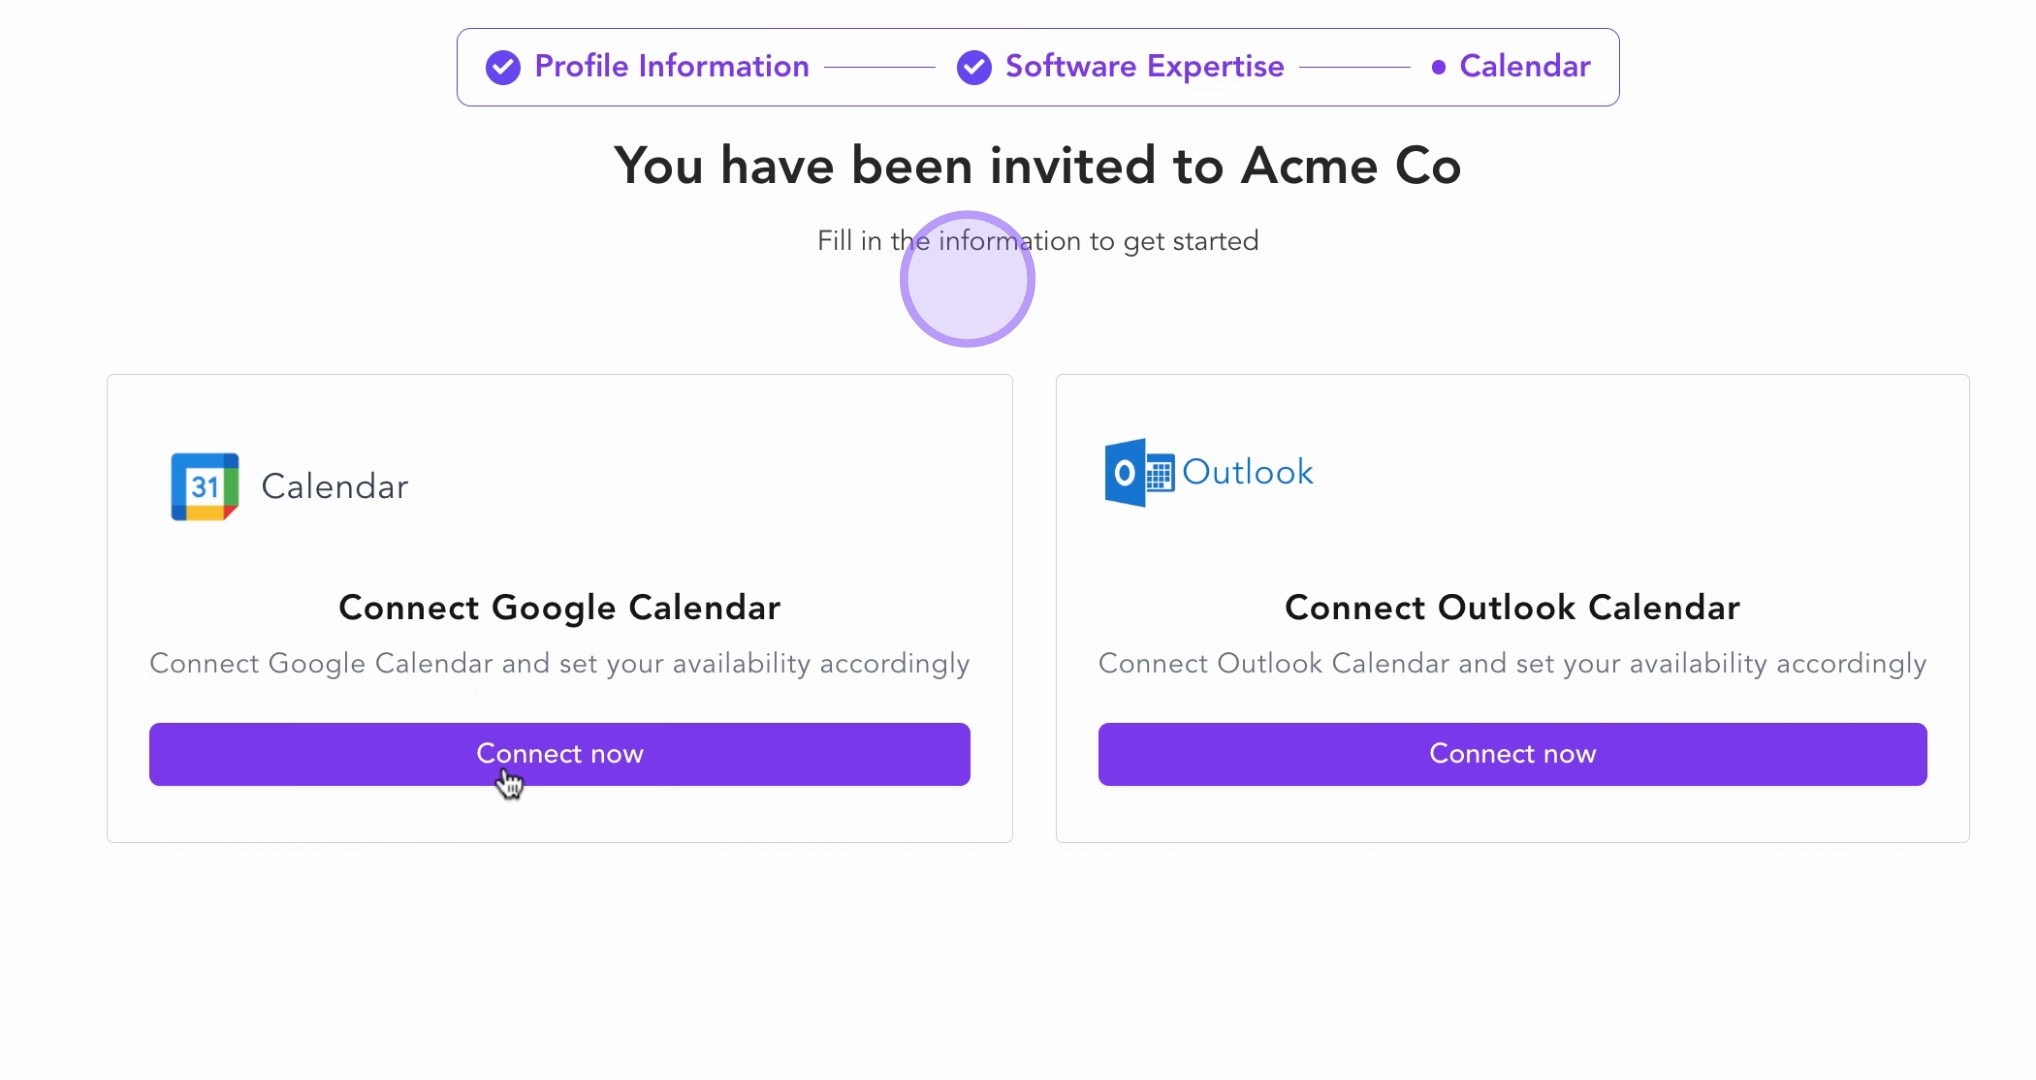
7. Expert Connects Their Calendar
Finally, your experts connect their calendar (Google Calendar or Outlook Calendar) and set their availability. This integration ensures that:
SlashExperts automatically shows only available time slots to prospects
Availability and involvement levels are respected
Double-booking is prevented
Experts maintain full control of their schedule
Conclusion
Once your experts complete these steps, they're fully onboarded and ready to start having valuable conversations with your prospects. They'll appear in your expert booking system where prospects can find them based on their relevant tags, expertise, industry, and experience level.
Key takeaways:
The entire onboarding process takes approximately 5 minutes
Each step is designed to gather information that improves prospect-expert matching
The streamlined process reduces friction and encourages expert participation
Experts maintain control over their availability and profile information
By understanding this journey, you can:
Better prepare experts for what to expect
Communicate the value of each step in the process
Build a stronger, more engaged expert community