This tutorial will guide you through the billing setup process to ensure your account is prepared for seamless transactions and automatic top-ups.
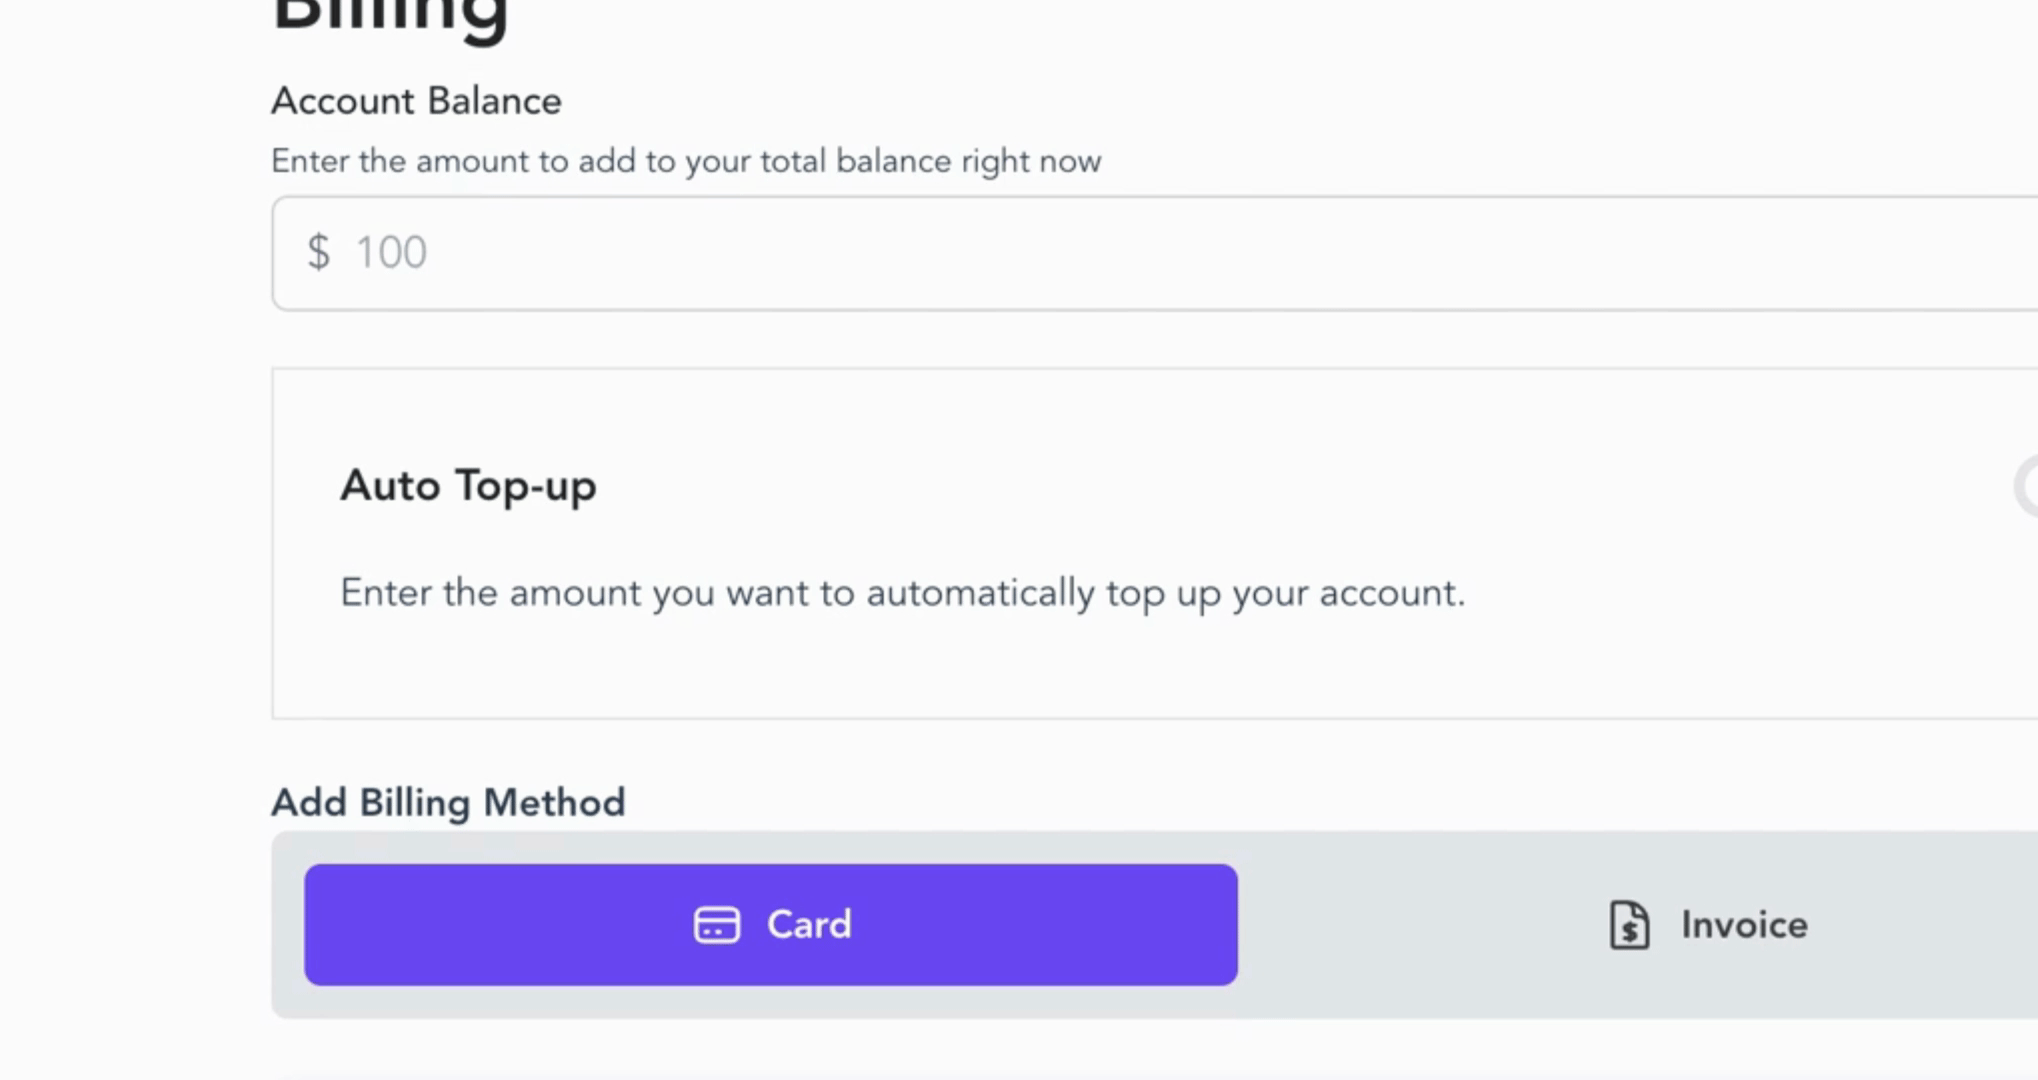
Begin by entering the amount you wish to add to your total account balance.
For example, you can input $5,000 to ensure your account remains funded.
Next, enable Auto Top Up. This feature allows you to avoid any interruptions in your account activity, as the system will automatically add funds whenever your balance falls below a specified threshold.
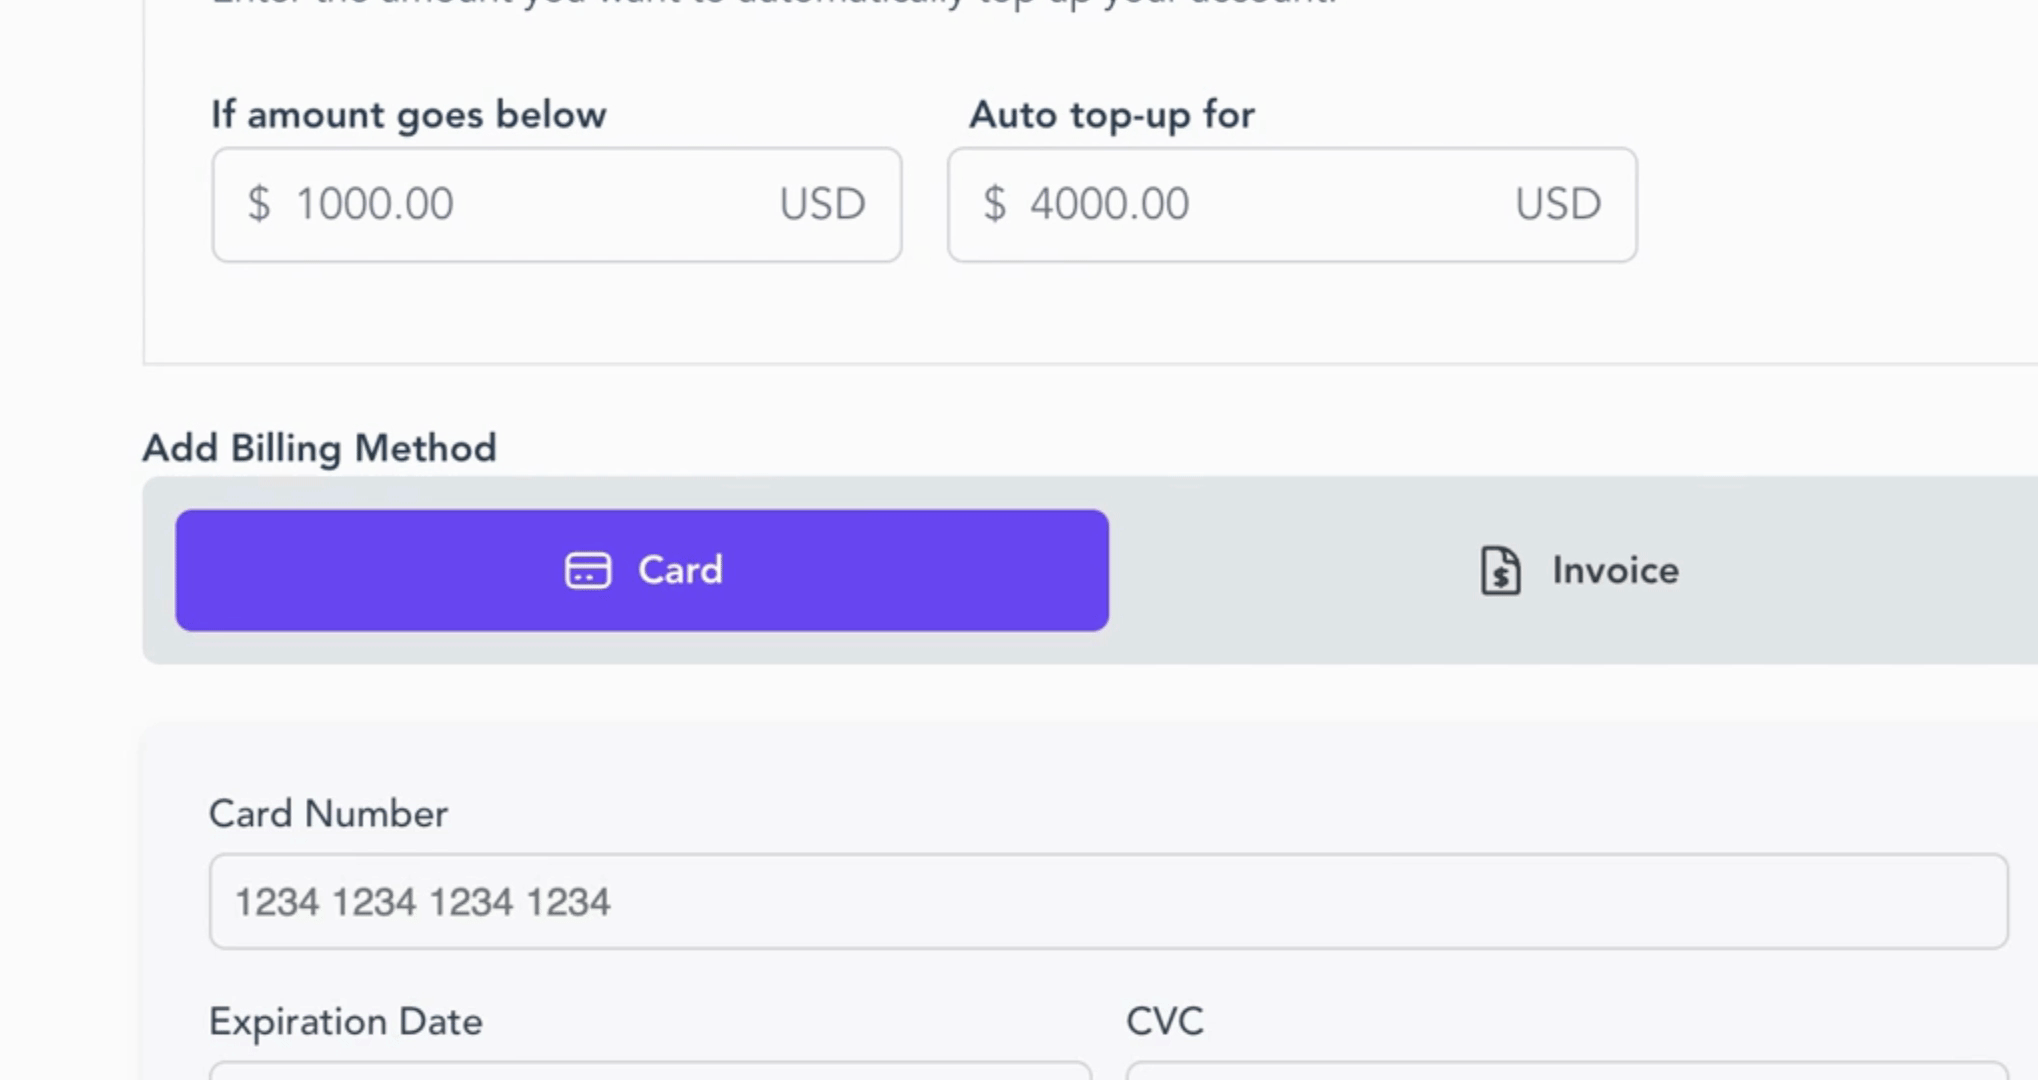
Set the minimum balance threshold and the amount you want to add via Auto Top Up. For instance, if your balance drops below $1,000, the system will automatically replenish it with $4,000.
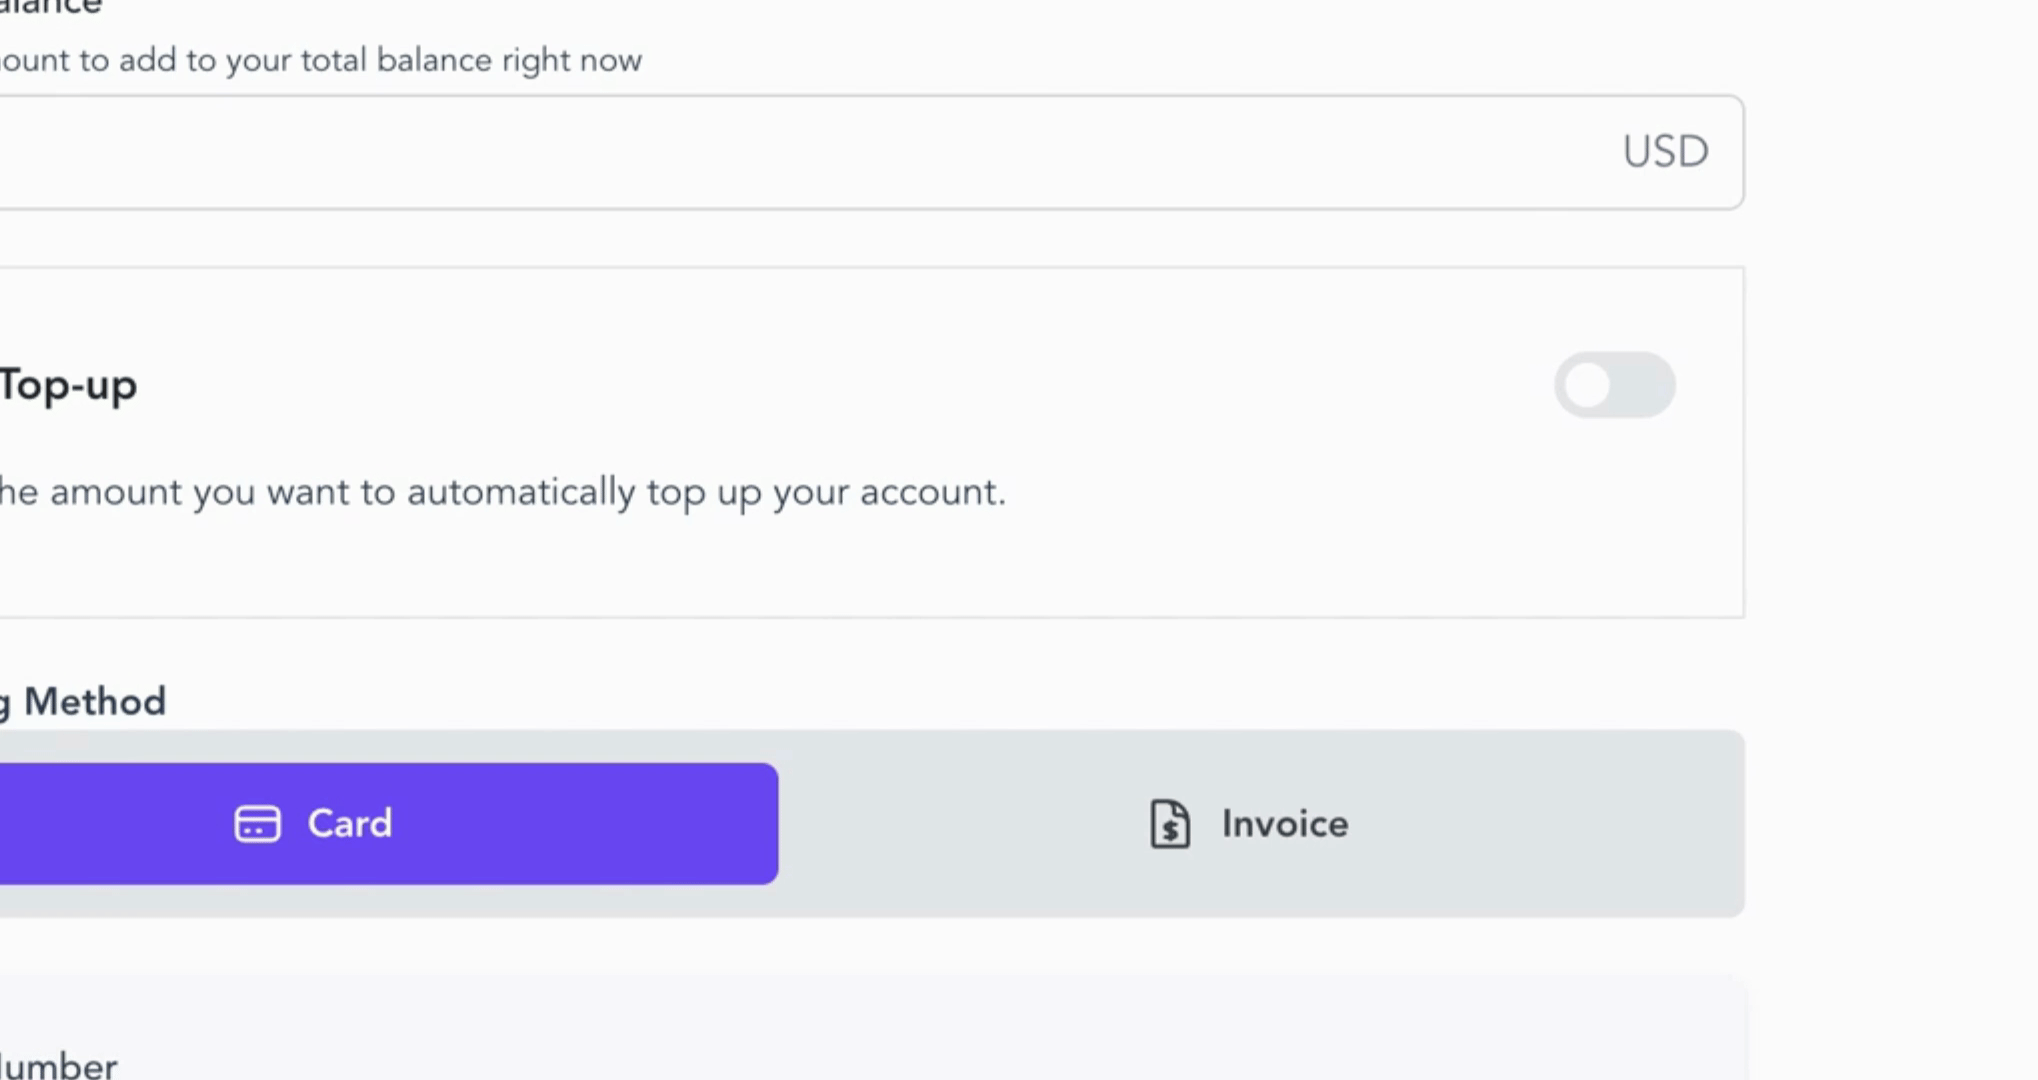
Now, let's add a billing method. You can opt for either Card or Invoice.
If you decide to add a card, simply enter your card number, expiration date, and CVC code.
Once your billing details are properly set, click Save to proceed to the next step.
By following these steps, your account will be ready for seamless billing and automatic top-ups, allowing you to focus on your programs without worry.